1. Brow Preparation
- Patch Test: Conduct a patch test before beginning the service to ensure client safety.
- Cleanse: Use an oil-free foaming cleanser to clean the brow area. Rinse thoroughly with a damp cotton pad.
- Dry: Ensure brows are completely dry and free from oils or sebum for the best results.
- Optional: Apply a barrier cream around the brow area to protect the skin.
2. Gel Tint Preparation
- Choose Your Shade: Select your desired Gel Tint shade or mix shades based on the Color Shade Guide for a custom match.
- Mix: Dispense 1 cm of Gel Tint into a mixing dish.
3. Gel Tint Application
- Apply Tint: Carefully apply the Gel Tint to the brows, following the desired shape.
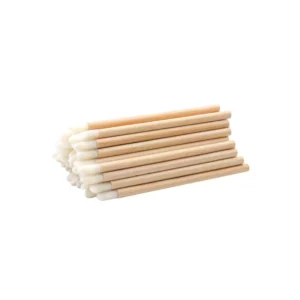
- Clean Edges: Use a cotton tip to tidy up any tint outside the brow outline.
- Develop: Leave the tint to process for 2 minutes (note: results develop invisibly during this time).
4. Gel Tint Removal
-
- Remove Tint: Gently wipe away the tint with a dry cotton pad, ensuring all product is completely removed.
- Repeat: Follow the same process for the second brow.
5. Drying Time
- Let the brows dry completely for at least 4 minutes.
- This step is crucial to activate the gel tint and ensure proper color development on the skin.
Step 6. Brow Mapping
- Map the brows according to the desired shape.
- Ensures precision and symmetry during Activator application.
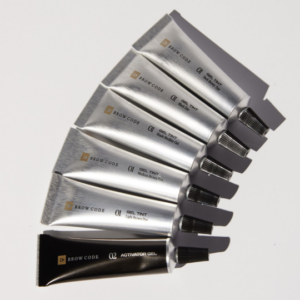
Step 7. Activator Application
- Prepare 1 cm of Activator in a mixing dish.
- Apply with a clean brush, starting from the tail of the brow and working toward the front.
Application Techniques:
- Ombré effect:
- Press Activator along the base of the brow head.
- Blend upward with a spoolie for a soft gradient.
- Natural hair-stroke look:
- Lightly brush the Activator through the brow hairs using a spoolie.
- Avoid pressing onto the skin.
- Clean-up:
- Remove any Activator outside the desired shape immediately with a damp cotton swab.
- Processing time:
- Do not exceed 1 minute of total processing time.
Step 8. Removing the Activator
-
-
- Gently press and wipe the brows with a slightly damp cotton pad.
- Ensure all product is thoroughly removed.
- Repeat the same process on the second brow.
Achieve flawless, vibrant brows with Brow Code Gel Tint—a simple yet transformative service in just minutes!